
Enable e-invoice reception (SUPER PDP)
This guide walks you through enabling e-invoice reception in Activiteez via SUPER PDP, the partner accredited platform. You first create a SUPER PDP account (desktop flow, then mobile identity verification), then connect that account to Activiteez.
Once the connection is verified, received e-invoices appear under Finances → Received invoices.
Note — SUPER PDP and Datakeen screens are currently in French. The labels below match the product UI.
Prerequisites
Before you start, make sure:
- Your Activiteez account is on a plan with a 12-month or longer commitment.
- A valid SIRET is set in Settings → Company. The first 9 digits (SIREN) must match the company you will create on SUPER PDP.
- You have an ID document for the legal representative (passport, national ID card, or residence permit) — verification happens on a phone.
For access rights and multi-establishment cases: Who can enable and use e-invoice reception?.
1. Start from Activiteez
- In Activiteez, open Settings → Invoices and quotes.
- In the E-invoicing block, click Create a SUPER PDP account.
- You are redirected to SUPER PDP to create your company. Keep the Activiteez tab open: you will return to connect the account once SUPER PDP is ready.
Note — If the SUPER PDP connect button is disabled, your plan likely has no 12-month commitment, or the SIRET is missing. See the eligibility FAQ.
2. Create the company on SUPER PDP (desktop)
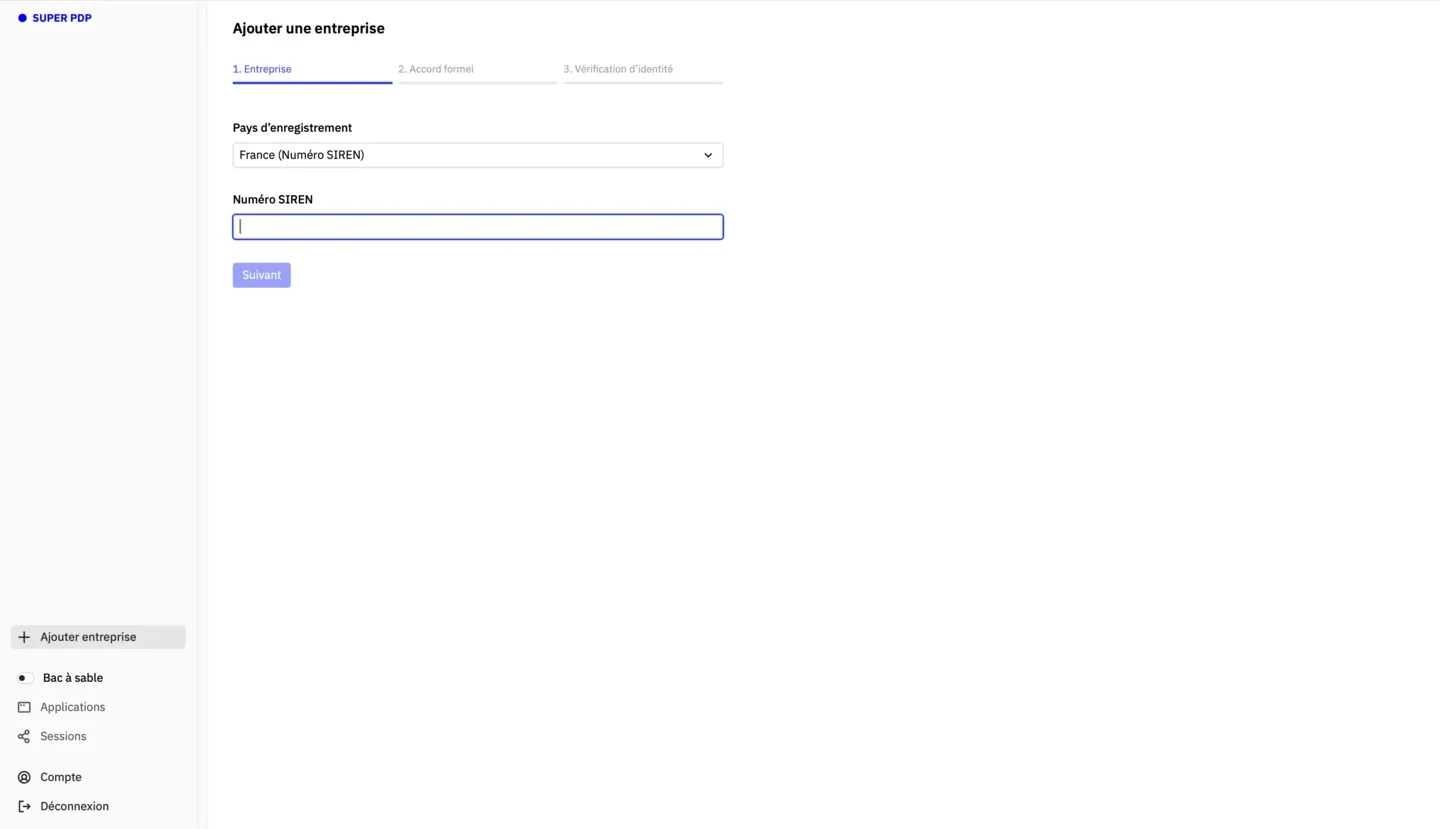
On SUPER PDP, the Ajouter une entreprise (Add a company) flow has three steps: Entreprise, Accord formel, Vérification d’identité.
Enter the SIREN
- Select country France (Numéro SIREN).
- Enter the SIREN (first 9 digits of your Activiteez SIRET).
- Click Suivant (Next).
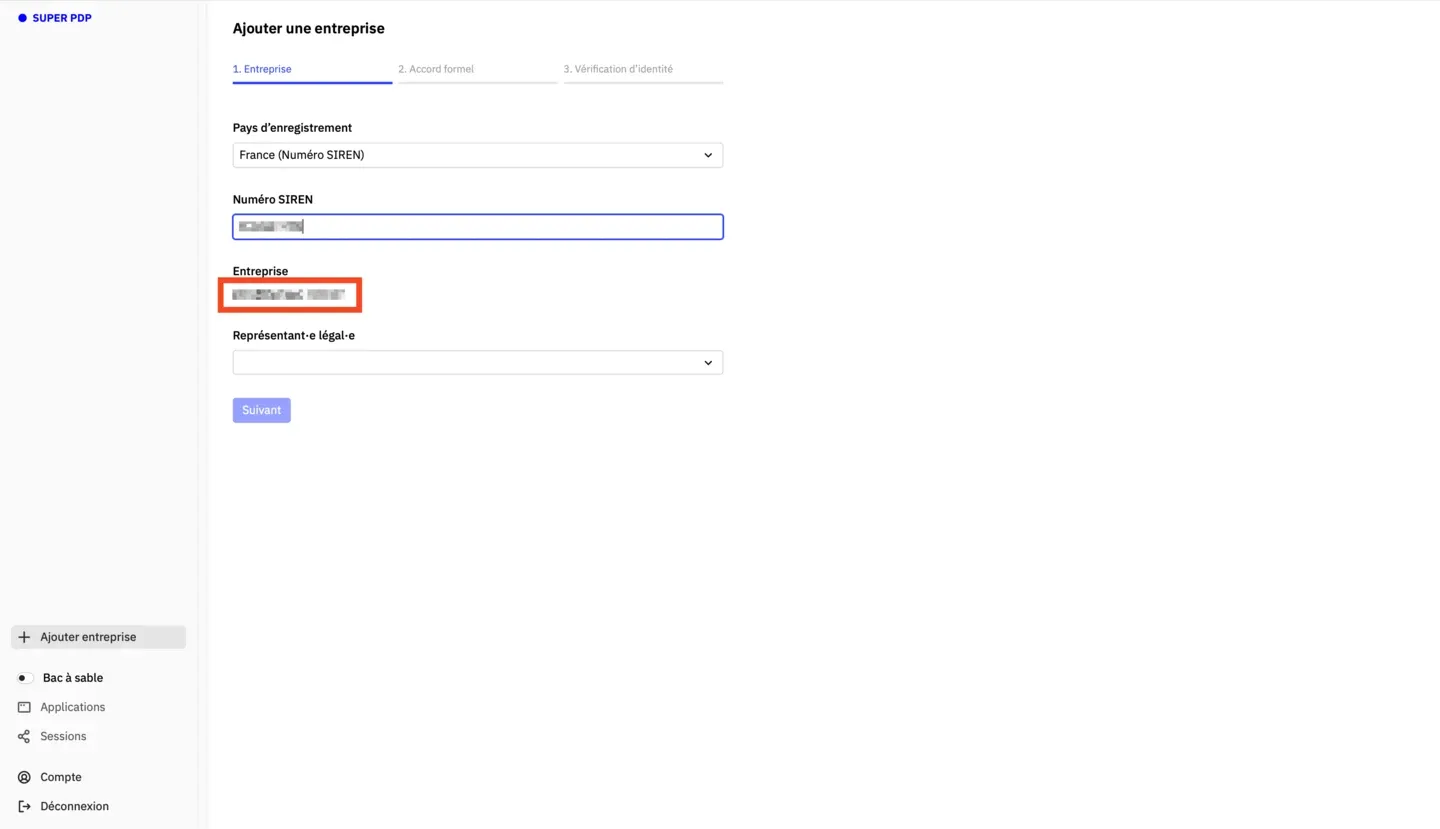
Confirm the company
SUPER PDP shows the company name linked to the SIREN. Check that it matches your structure, then continue.
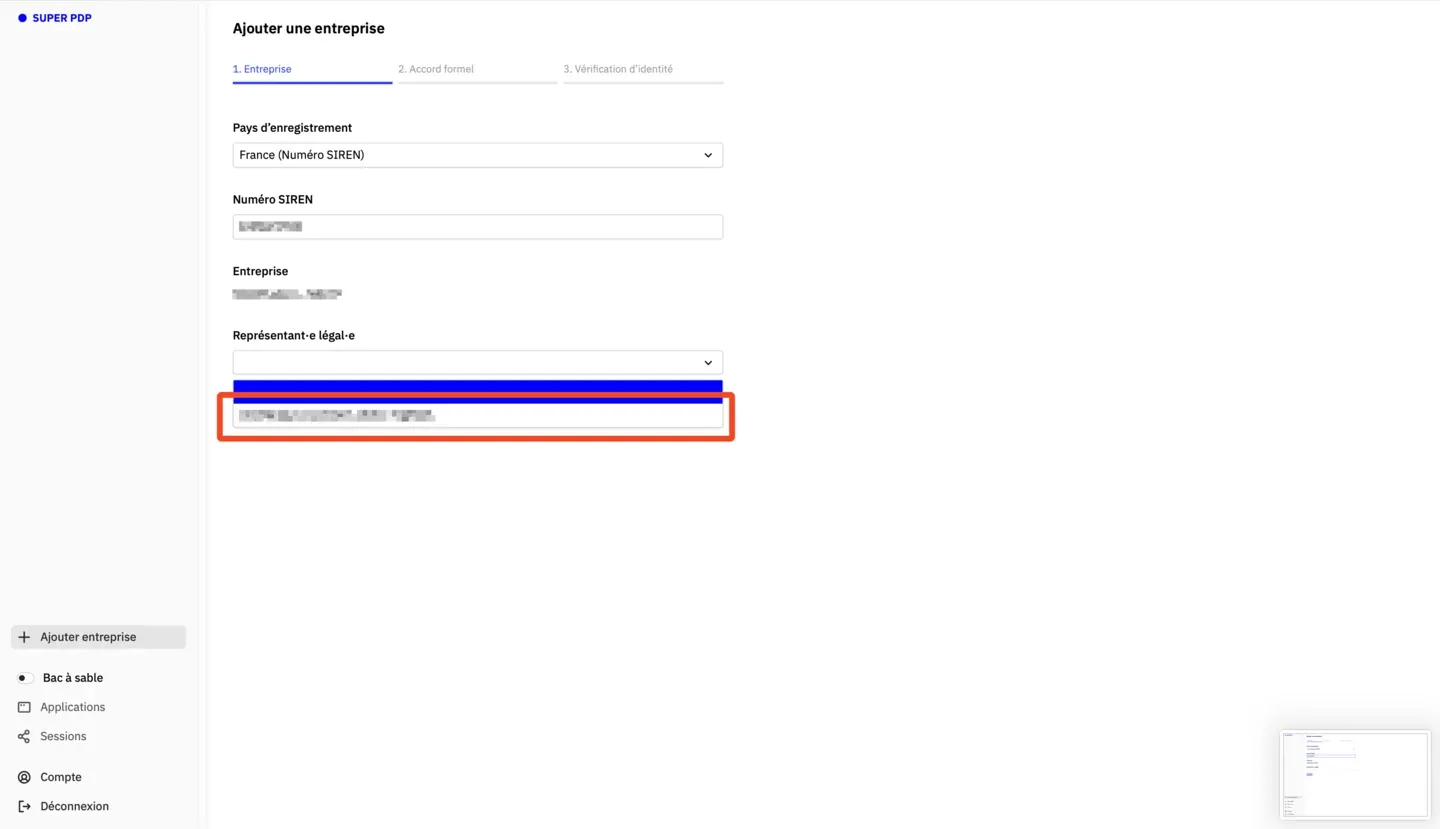
Choose the legal representative
Select the représentant·e légal·e (legal representative) from the list, then click Suivant. That person must complete identity verification on mobile.
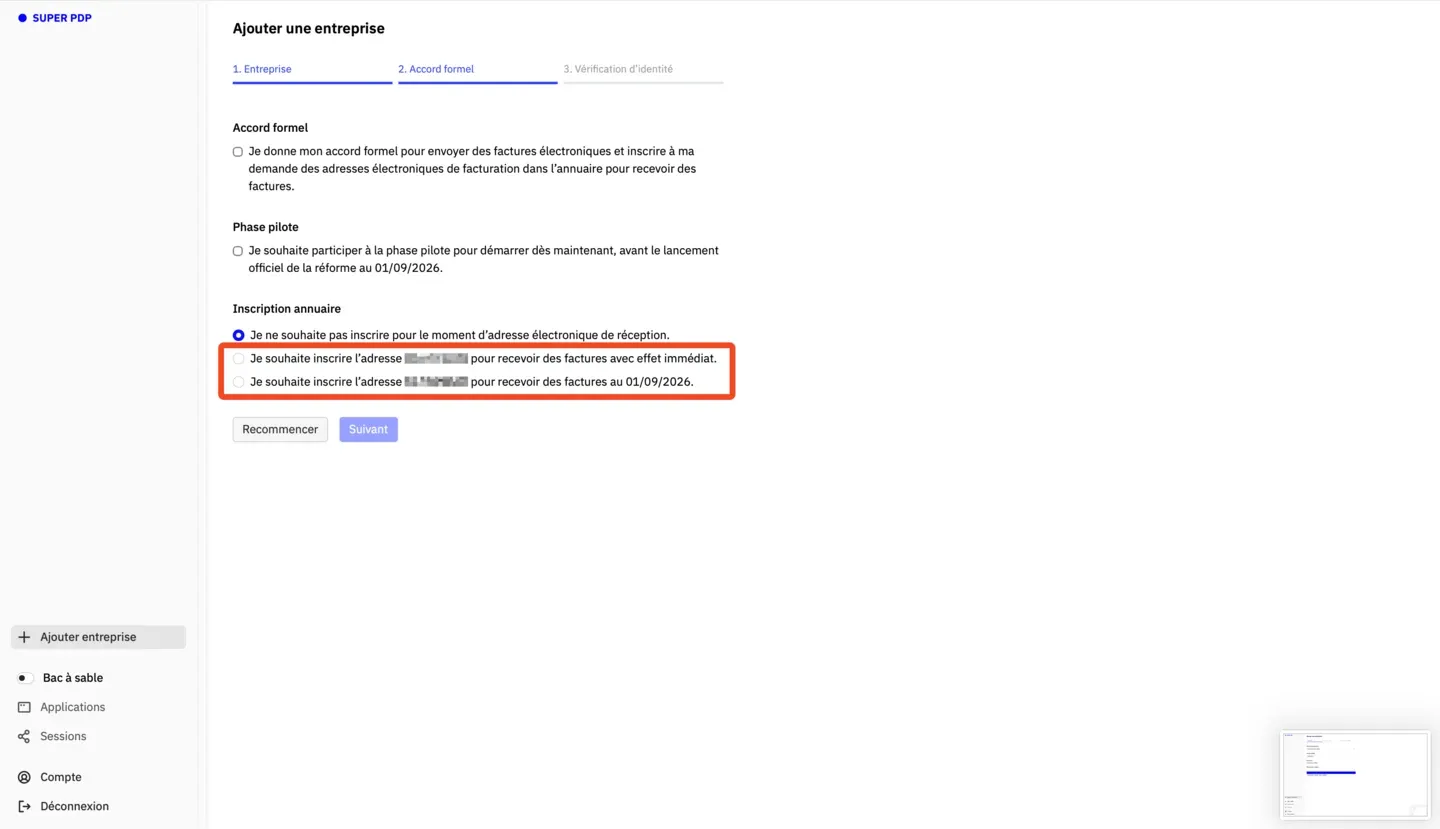
Give formal consent and enable reception
On the Accord formel step:
- Tick the formal agreement to send e-invoices and, on request, register receiving addresses in the directory.
- If offered, indicate participation in the pilot phase (start before the official reform date).
- Under Inscription annuaire, choose the option to register a receiving address (immediate effect or on the indicated date). This registration is what lets you receive e-invoices.
- Click Suivant.
Scan the QR code
The Vérification d’identité step shows a QR code. Scan it with your phone camera (or use Lien direct). The rest happens on mobile with verification partner Datakeen.
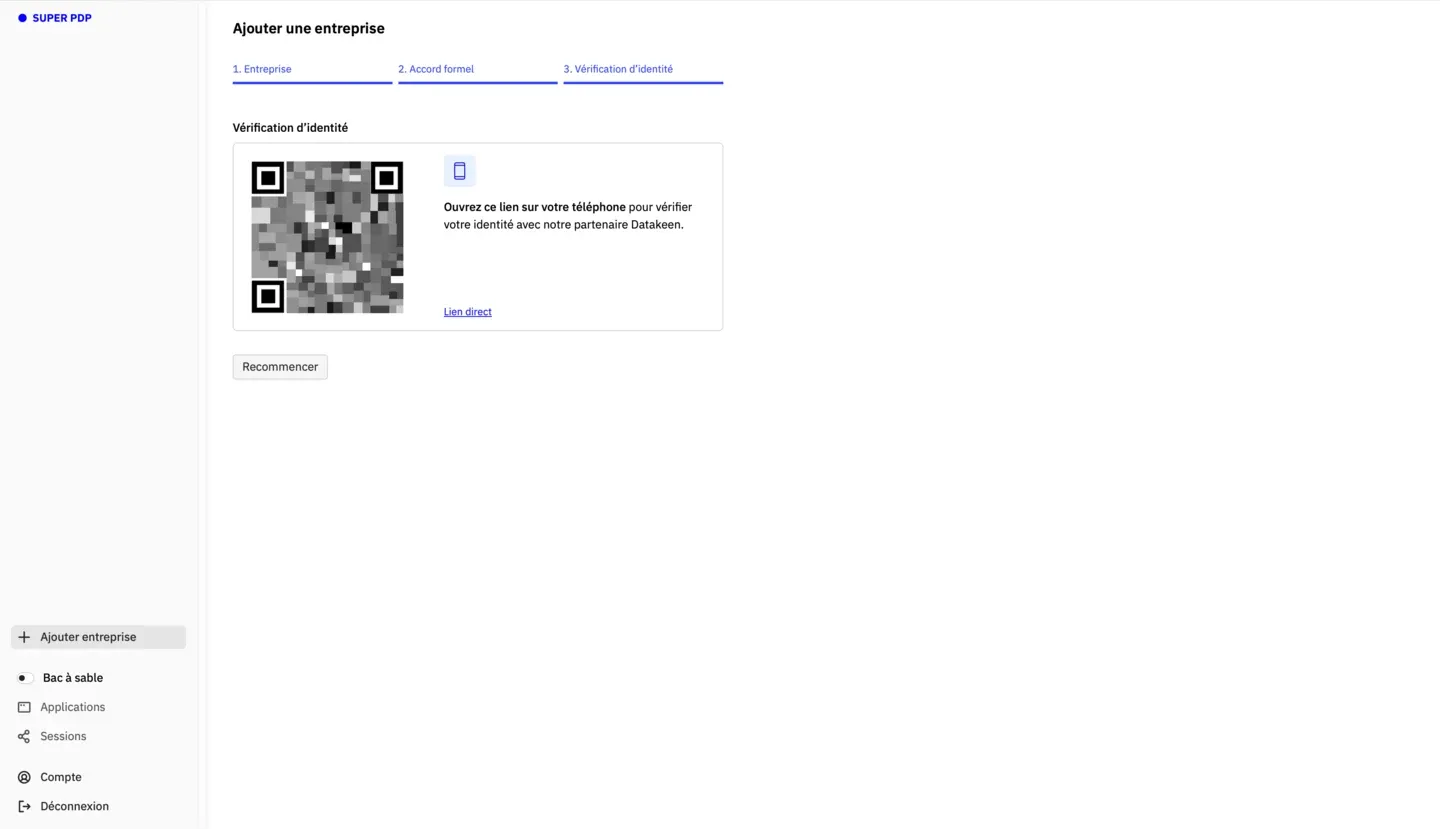
Leave the SUPER PDP tab open on your computer: you will return after mobile validation.
3. Verify identity on mobile
On your phone, the Datakeen flow looks like this.
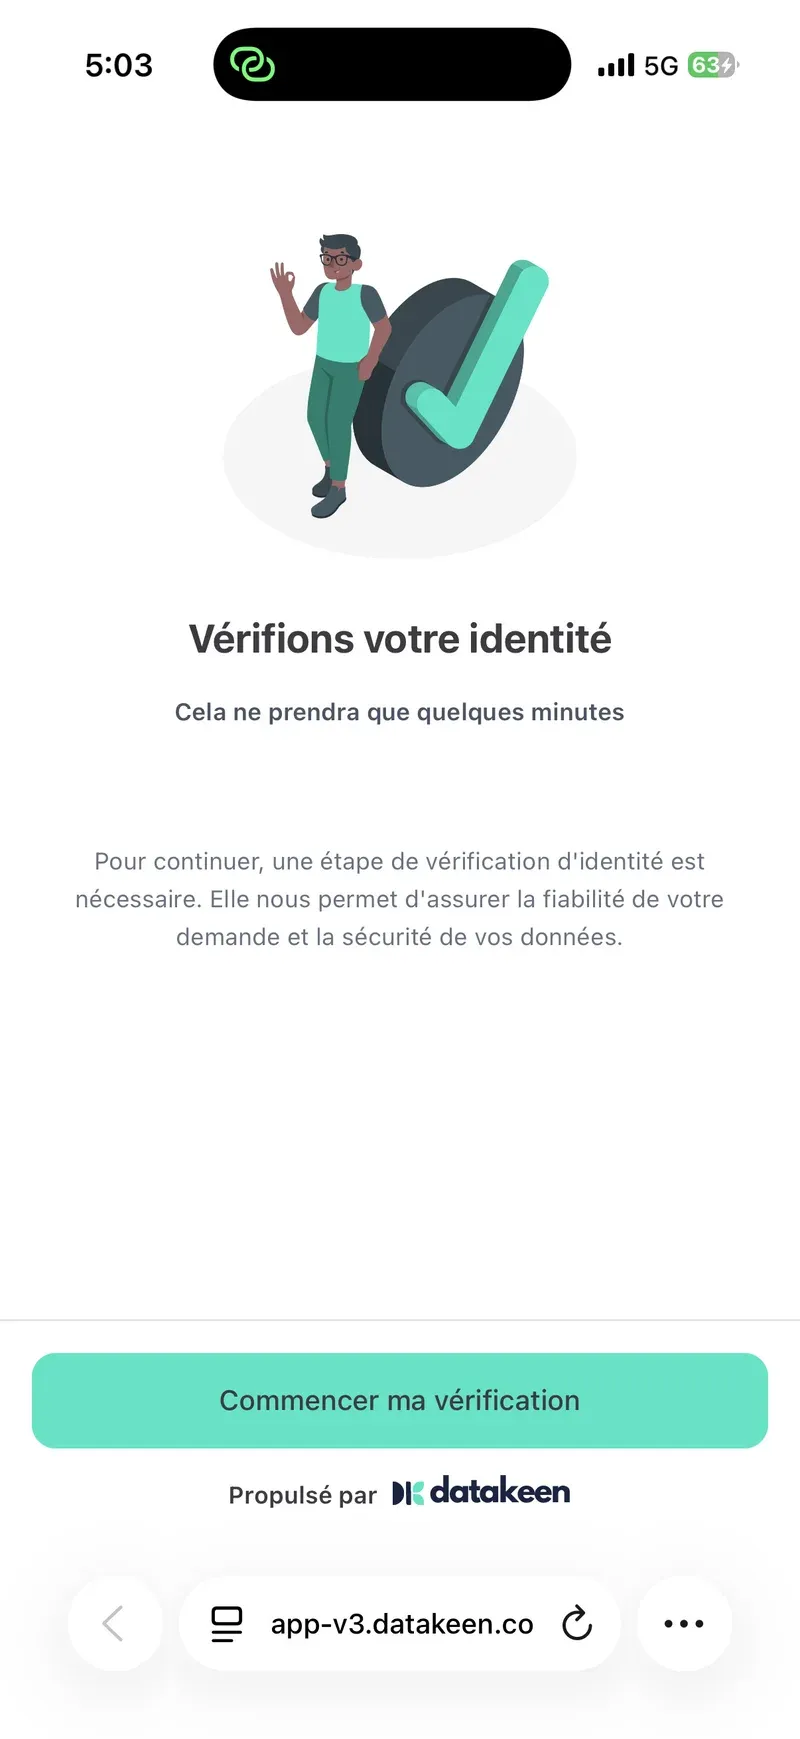
Start
Open the scanned link, then tap Commencer ma vérification.
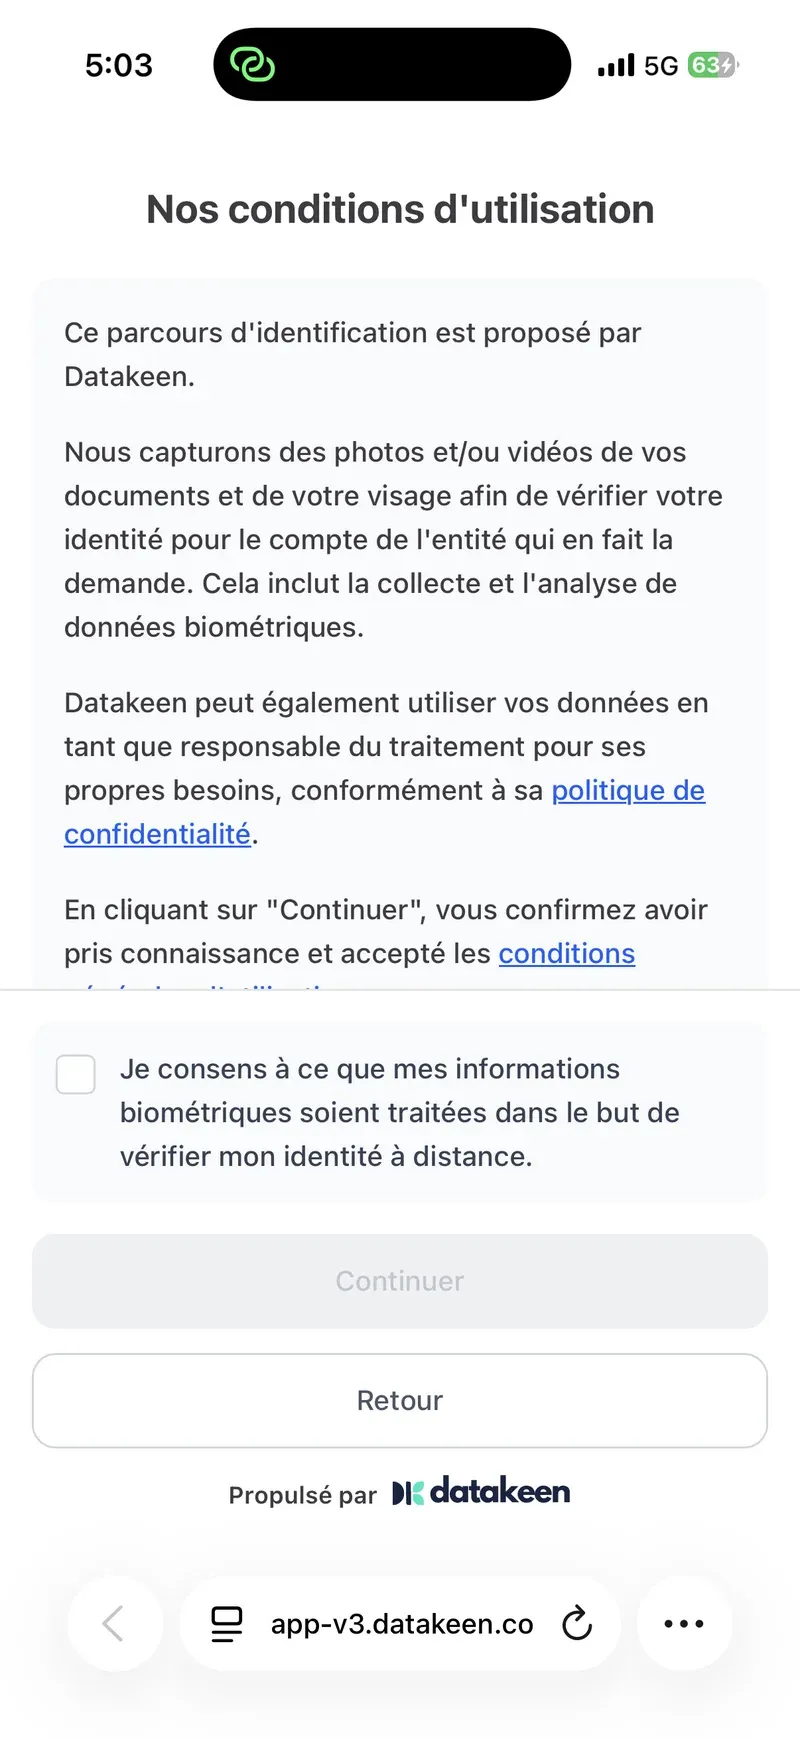
Accept the terms
Read the terms of use, tick consent for biometric data processing, then tap Continuer.
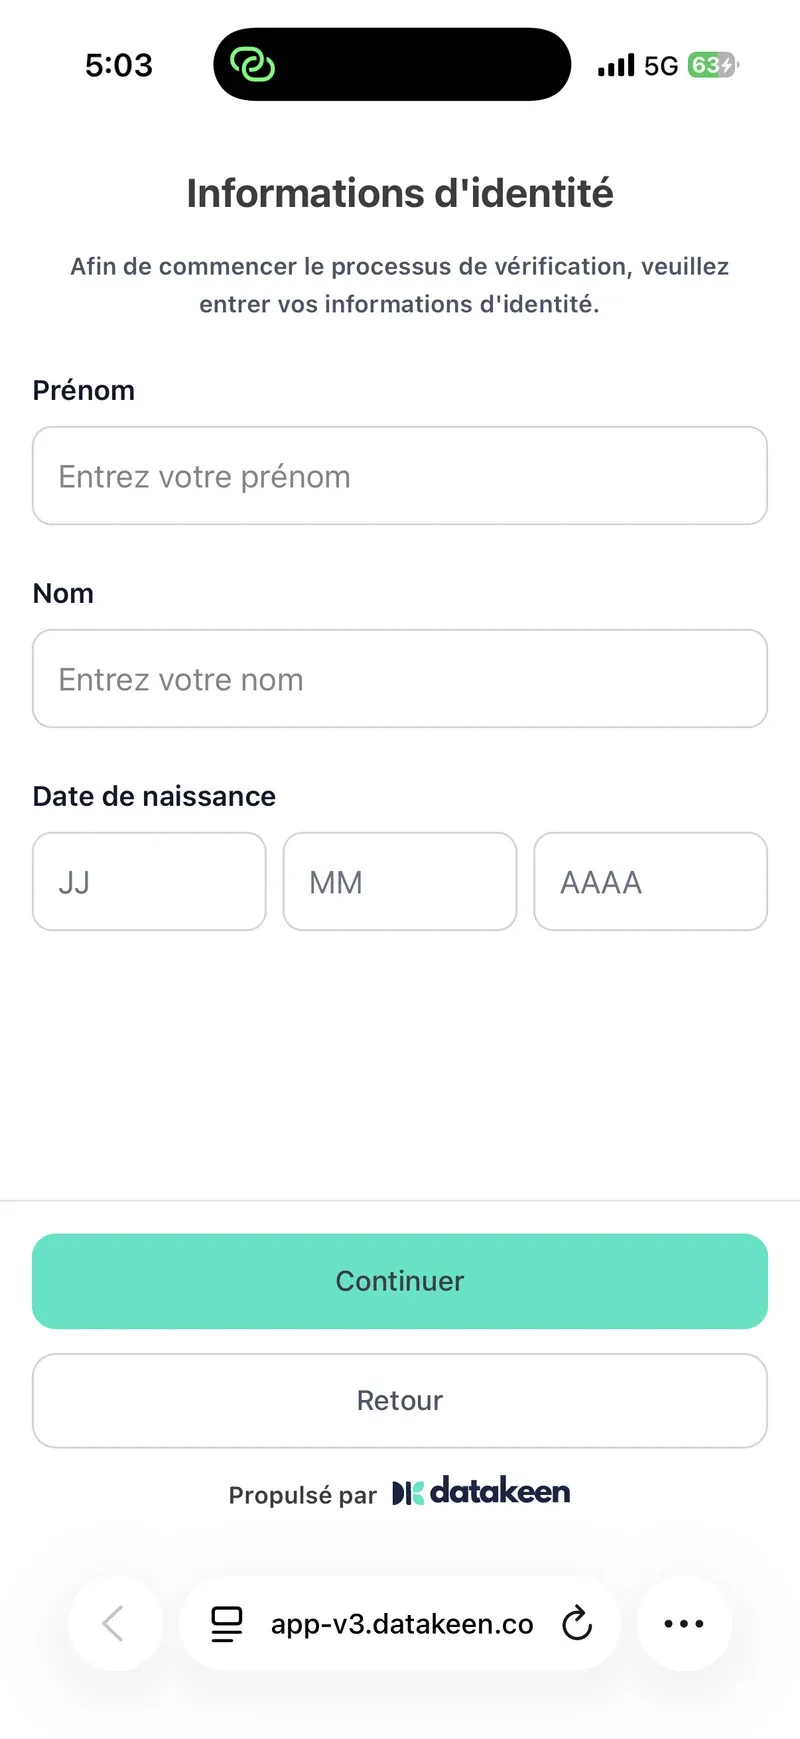
Enter identity details
Enter the legal representative’s first name, last name, and date of birth, then Continuer.
Launch verification
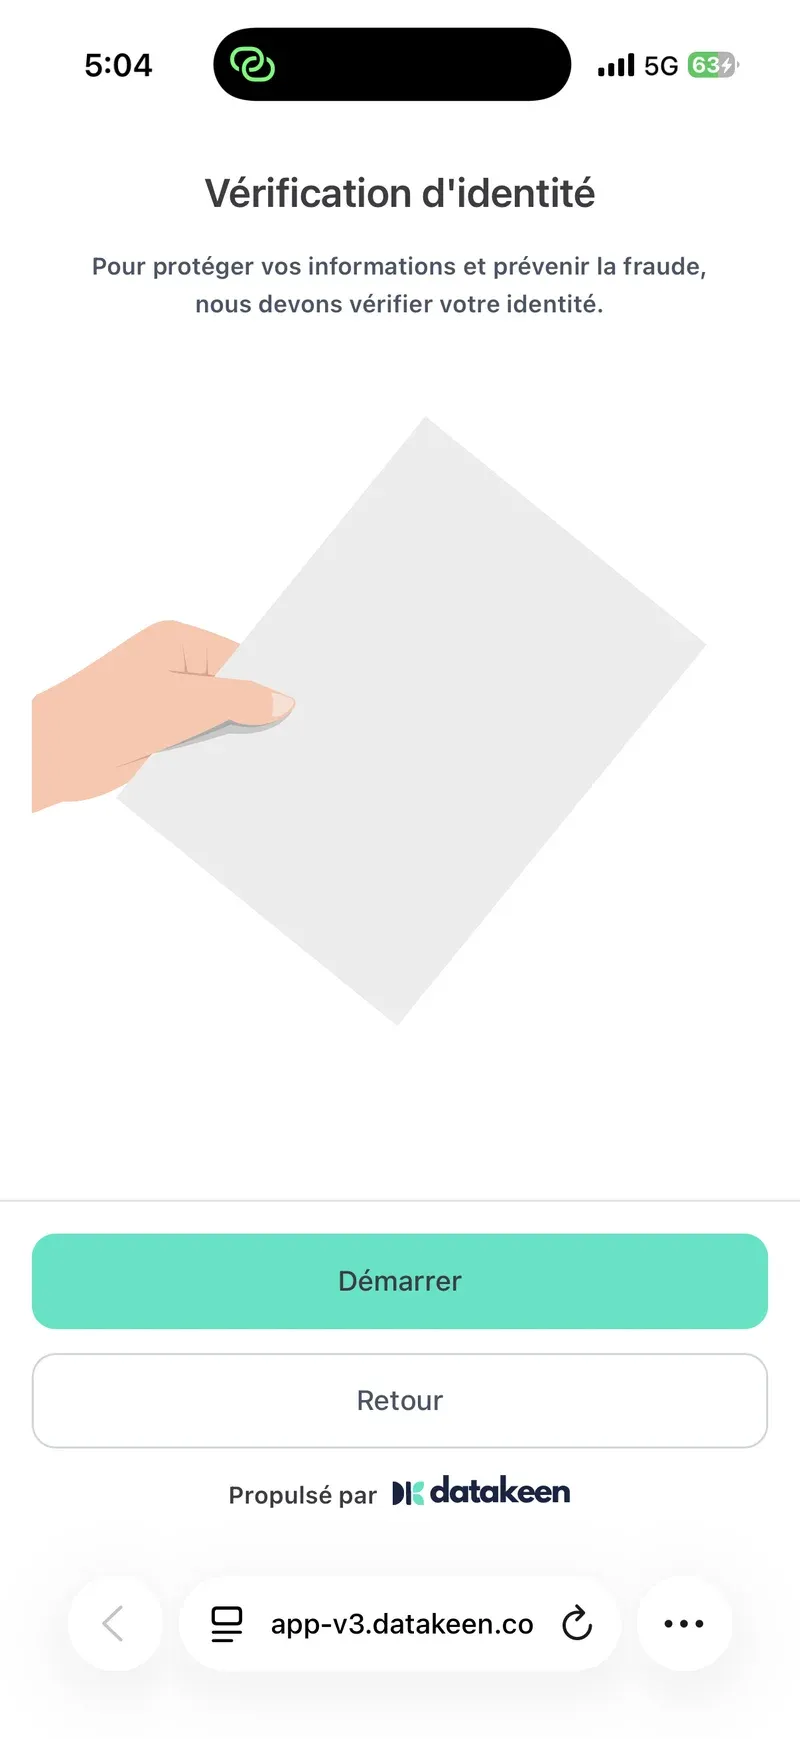
On the Vérification d’identité screen, tap Démarrer.
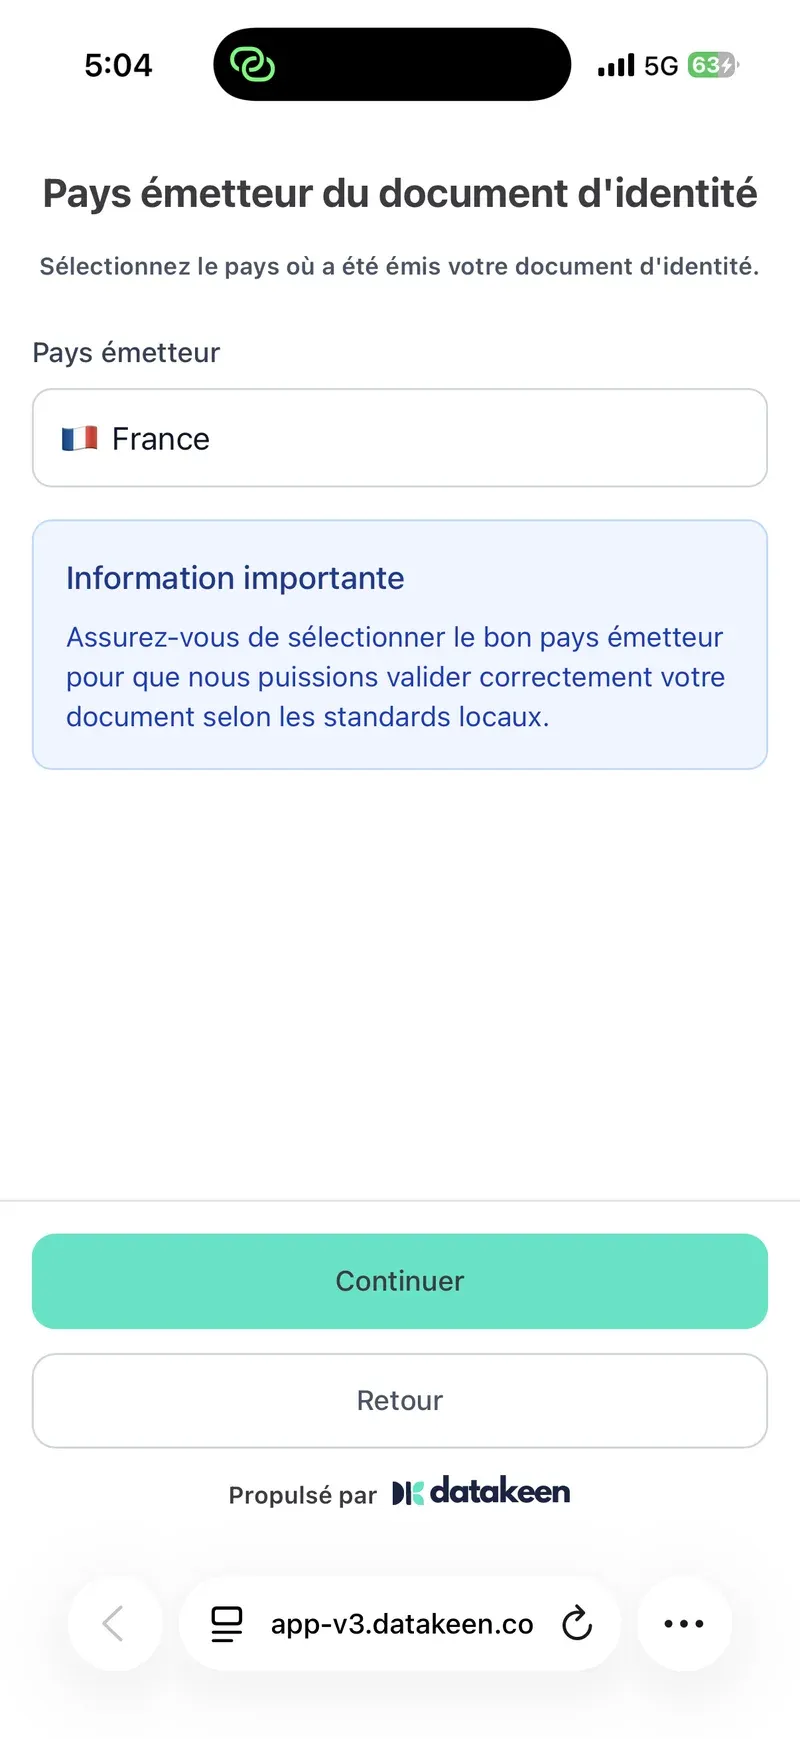
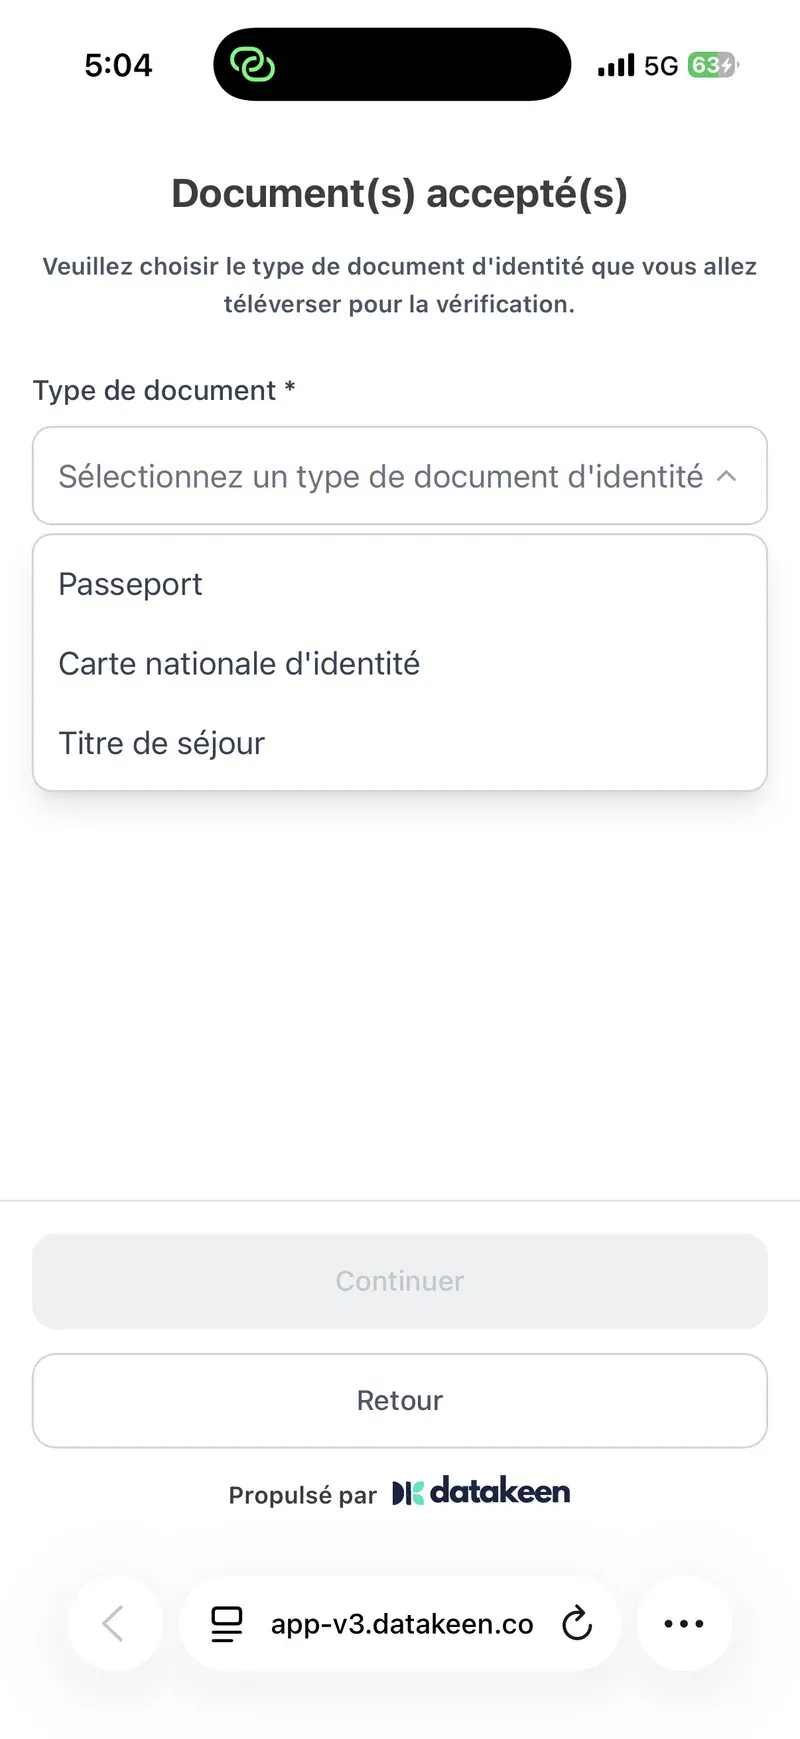
Choose country and document type
- Select the country of origin of the ID document.
- Choose the document type: passport, national ID card, or residence permit.
- Tap Continuer.
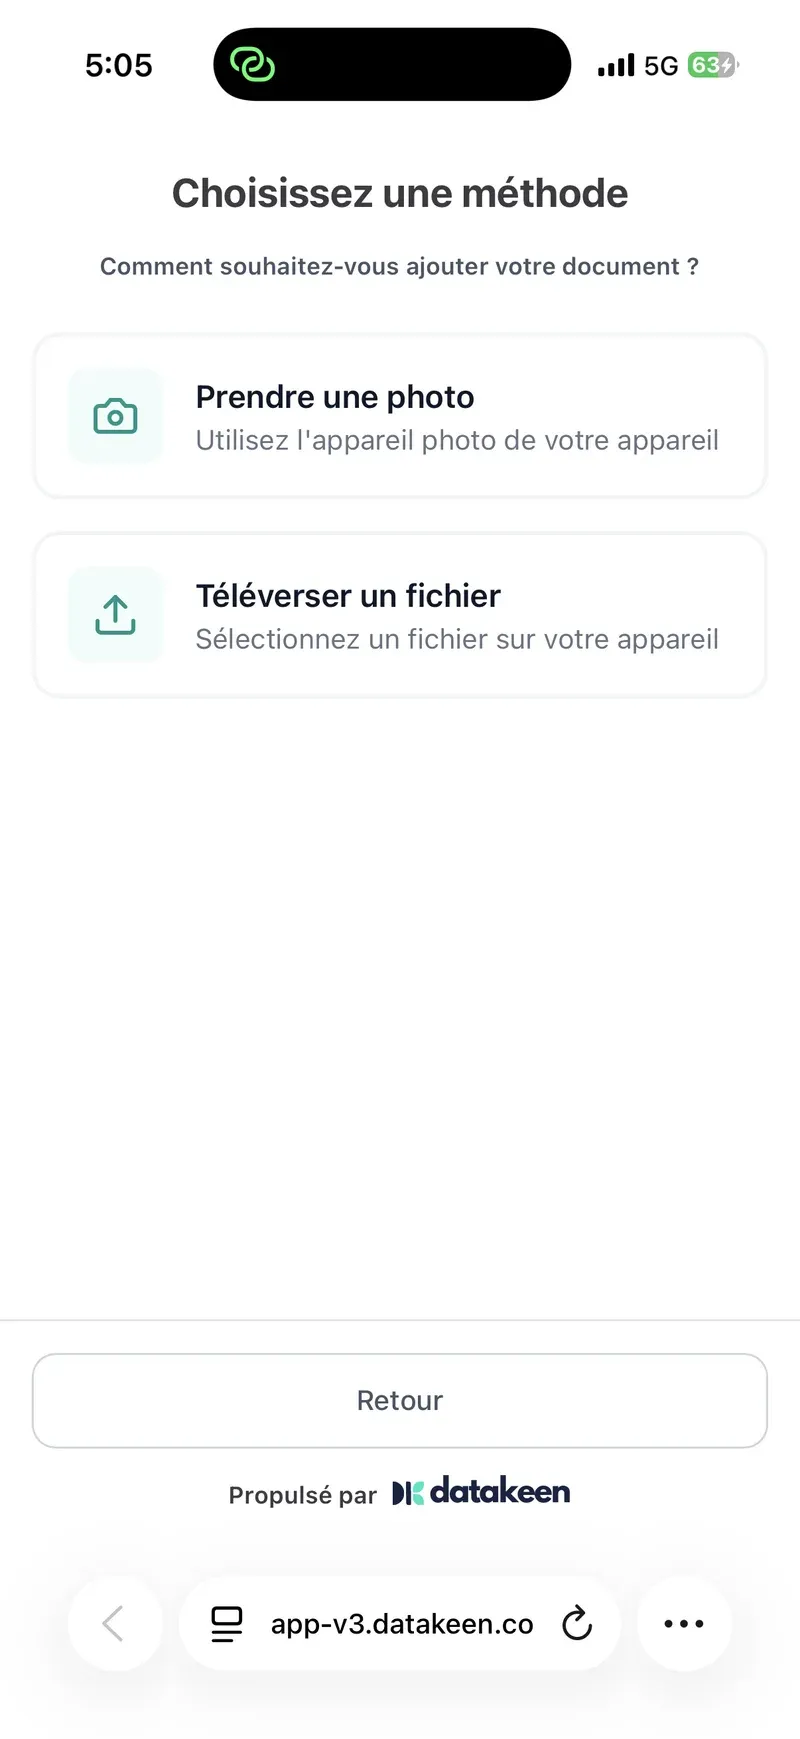
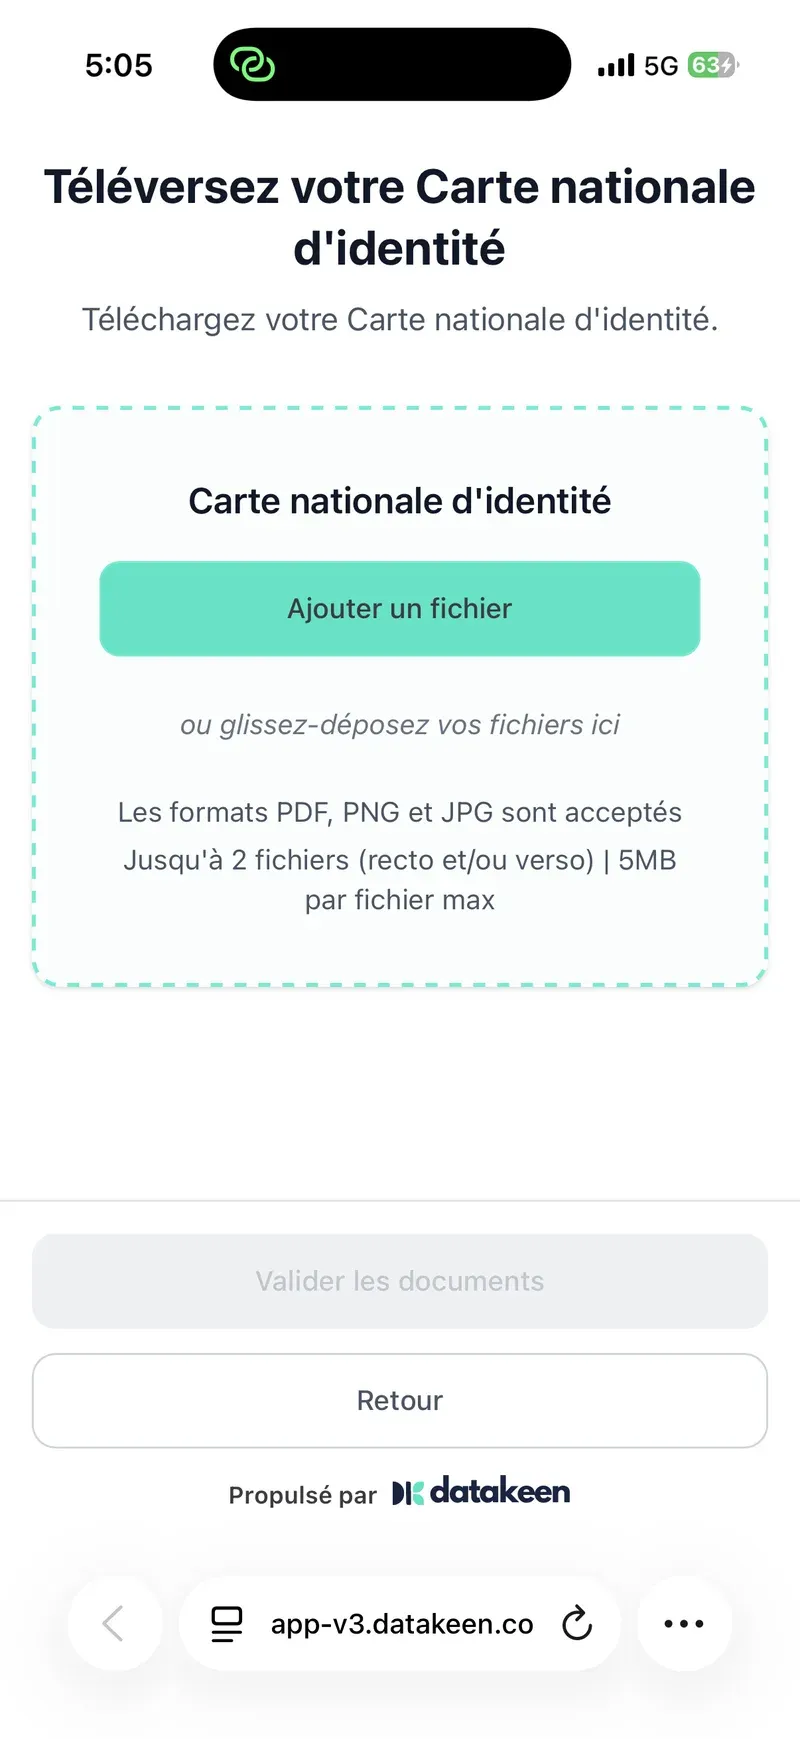
Upload the document (front, then back if needed)
- Choose Prendre une photo (Take a photo) or Téléverser un fichier (Upload a file).
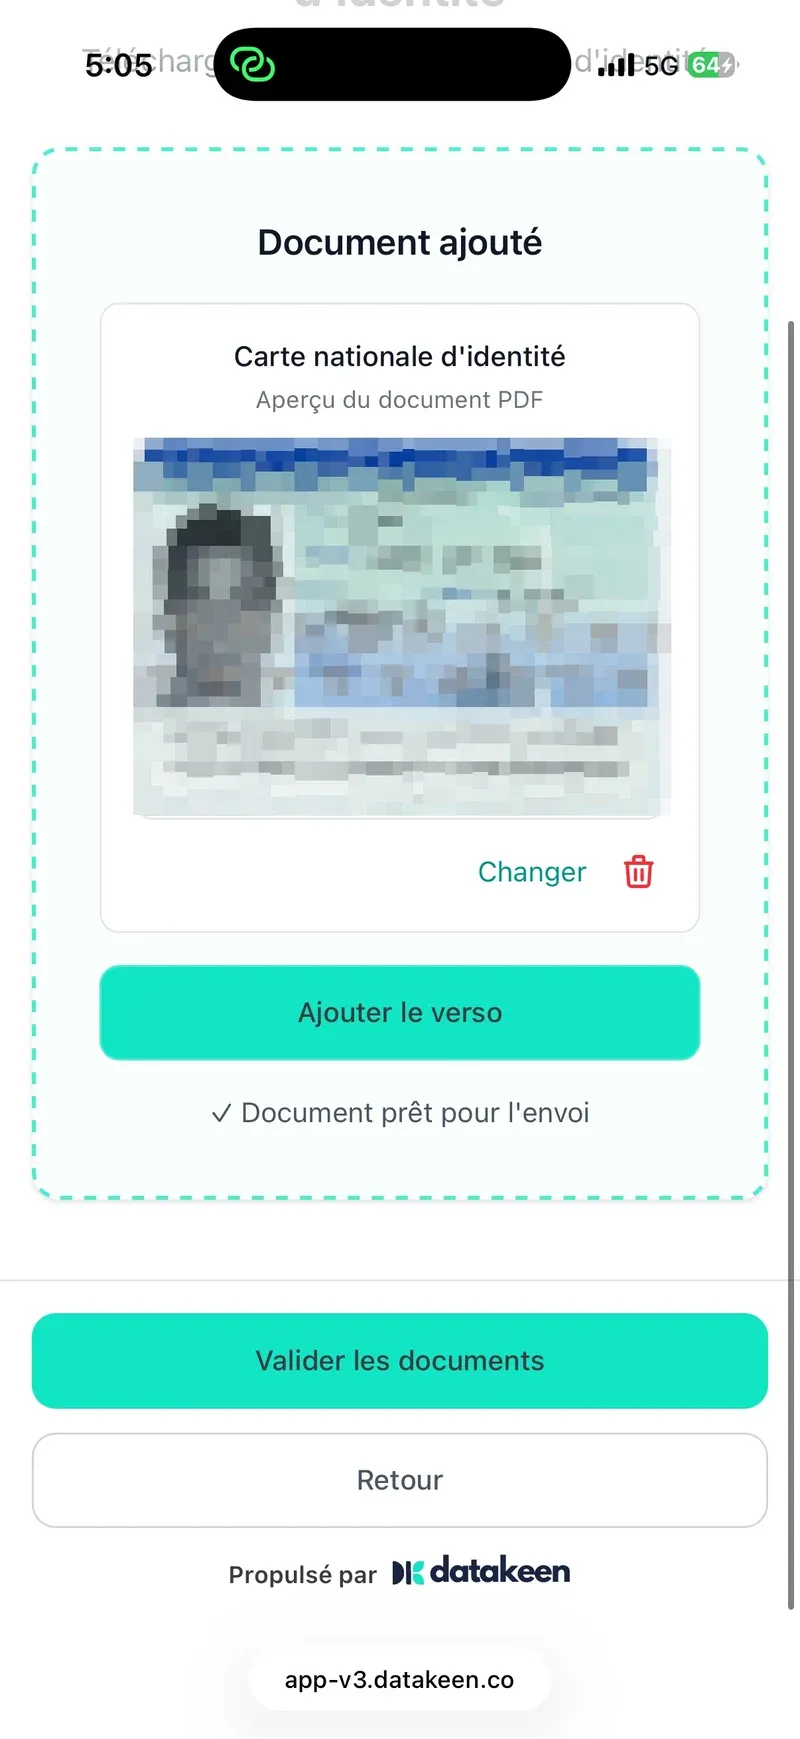
- Add the front of the document.
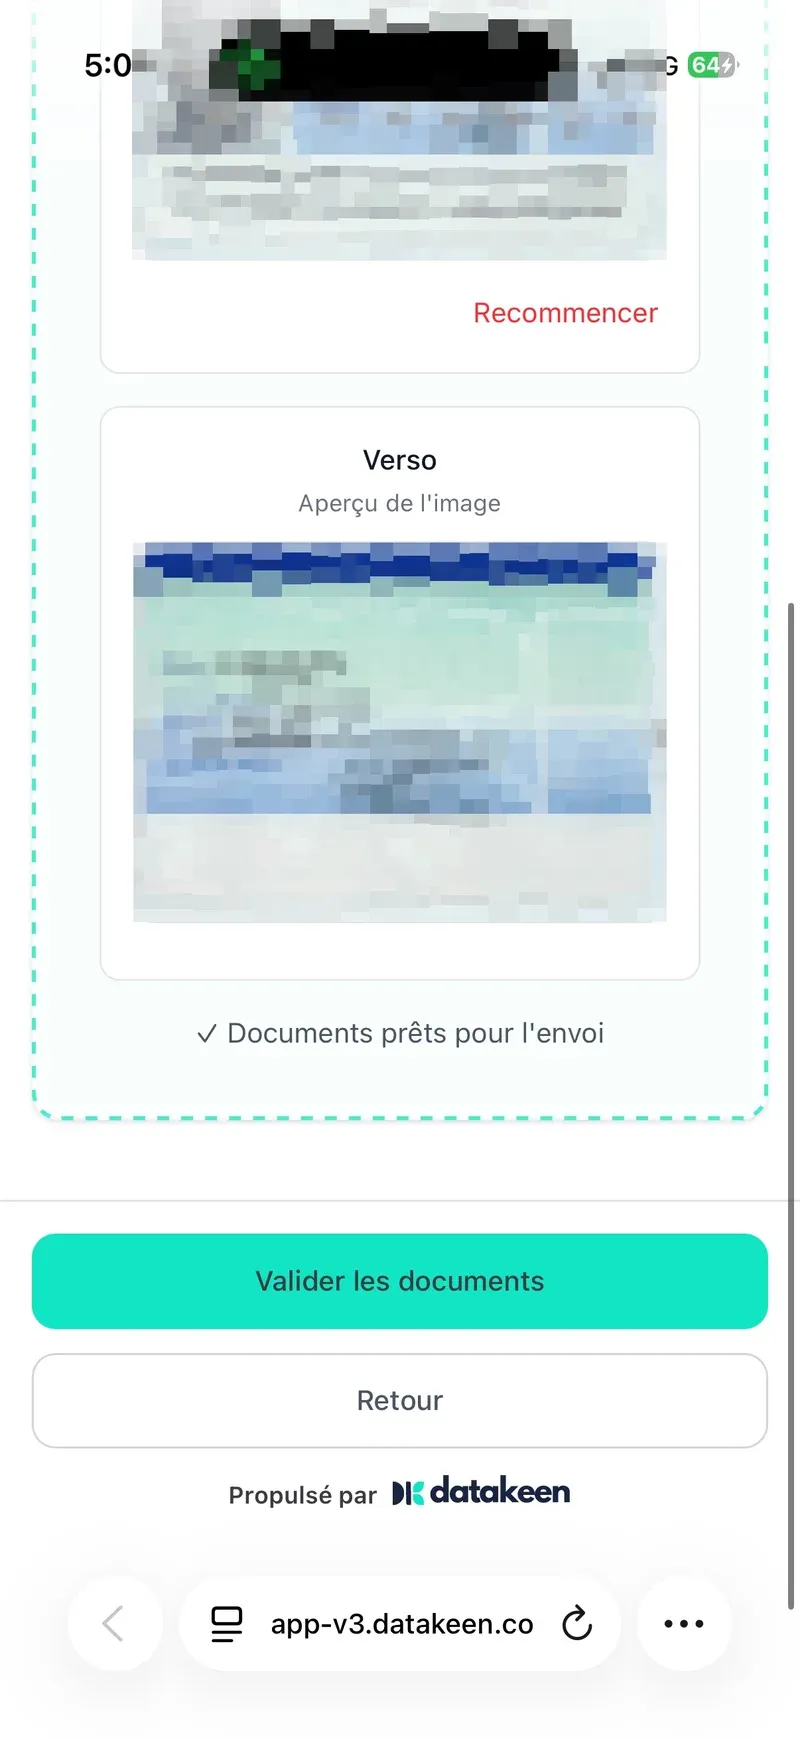
- Check the preview (Document ajouté). For a national ID card, add the back if offered (Ajouter le verso).
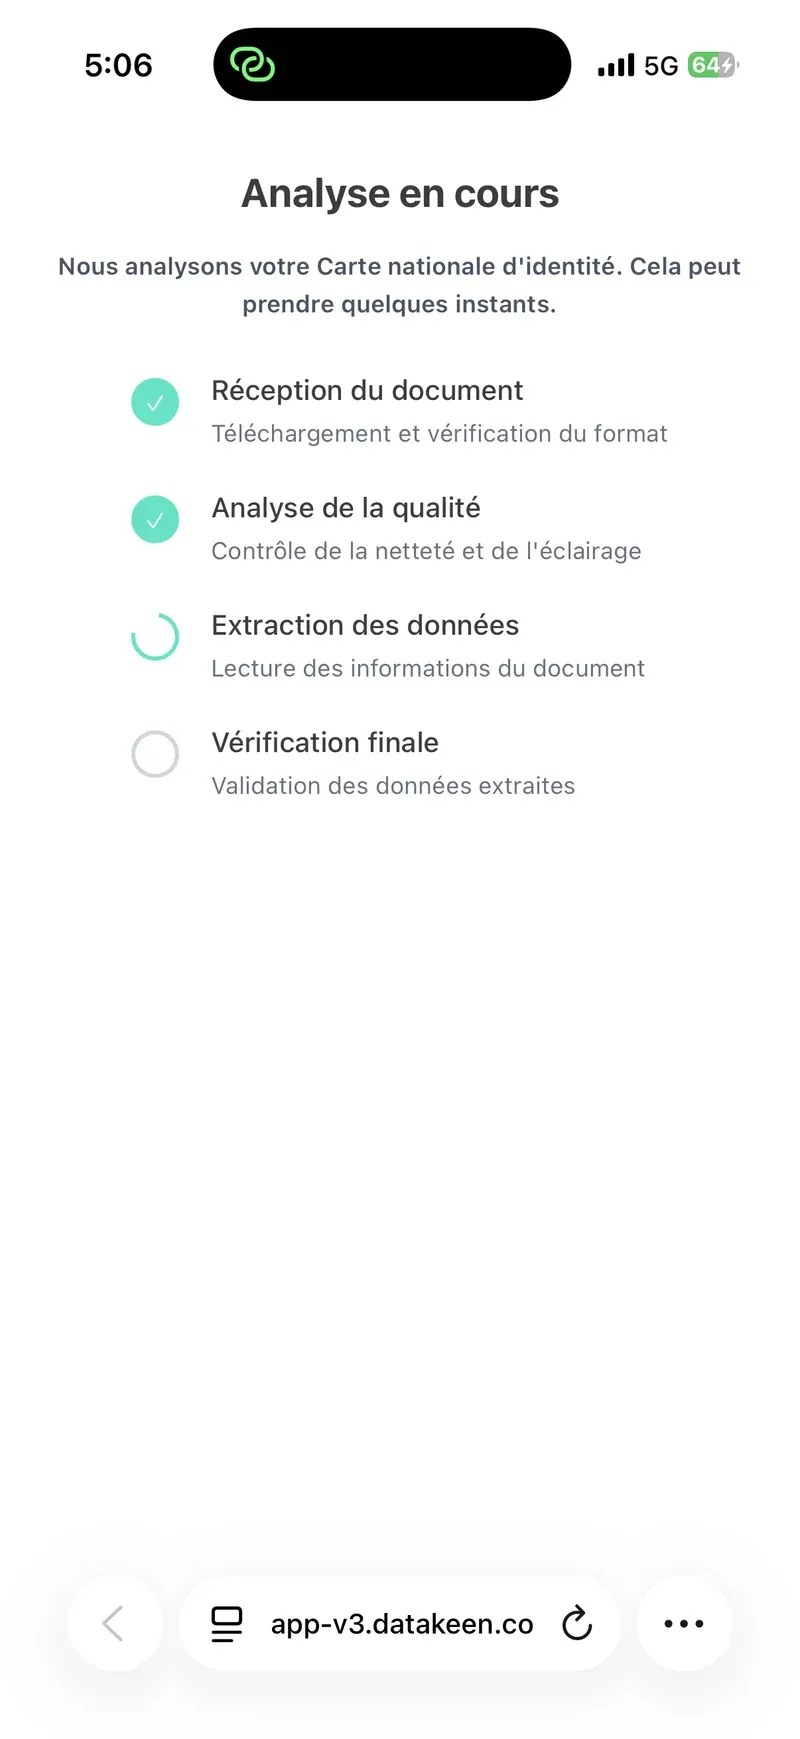
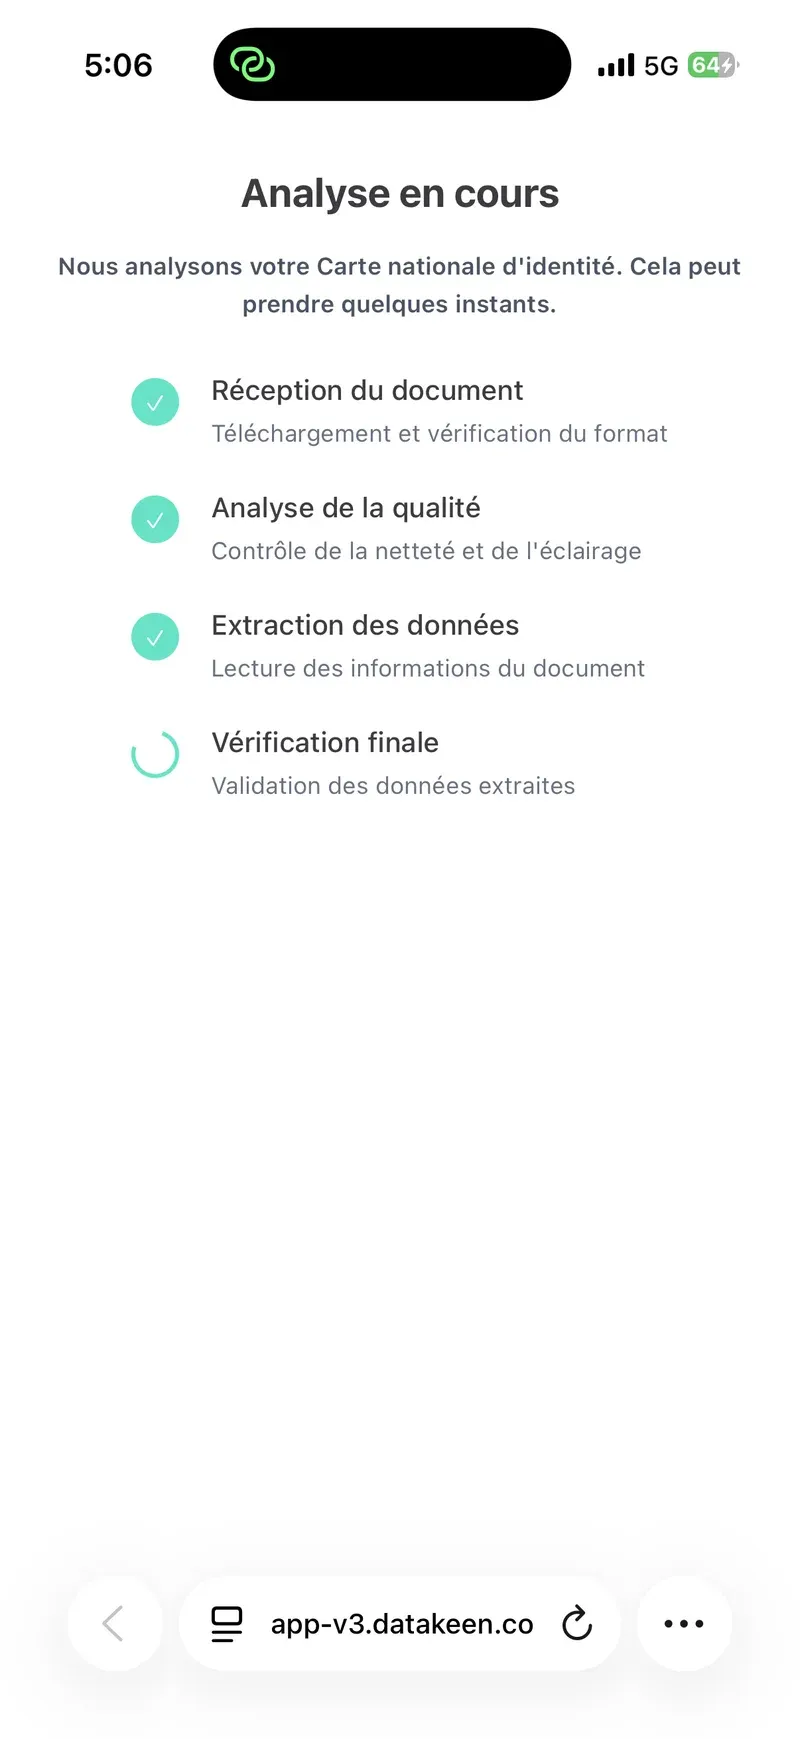
- Wait for automatic verification, then validate (Valider les documents).
Finish on mobile
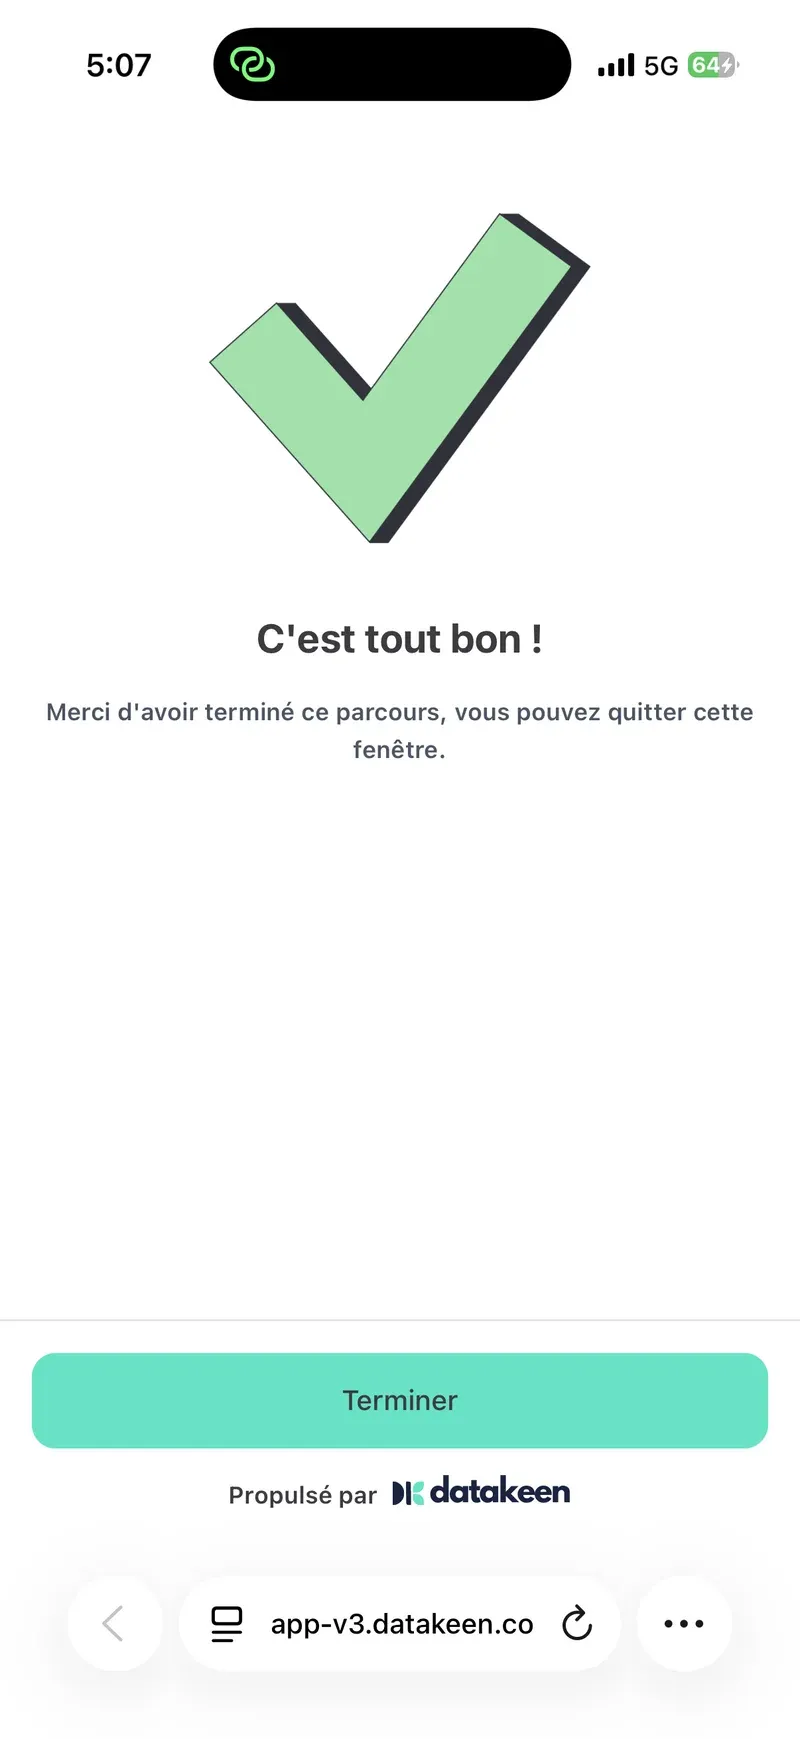
When C’est tout bon ! appears, tap Terminer, then return to your computer.
4. Confirm on SUPER PDP (desktop)
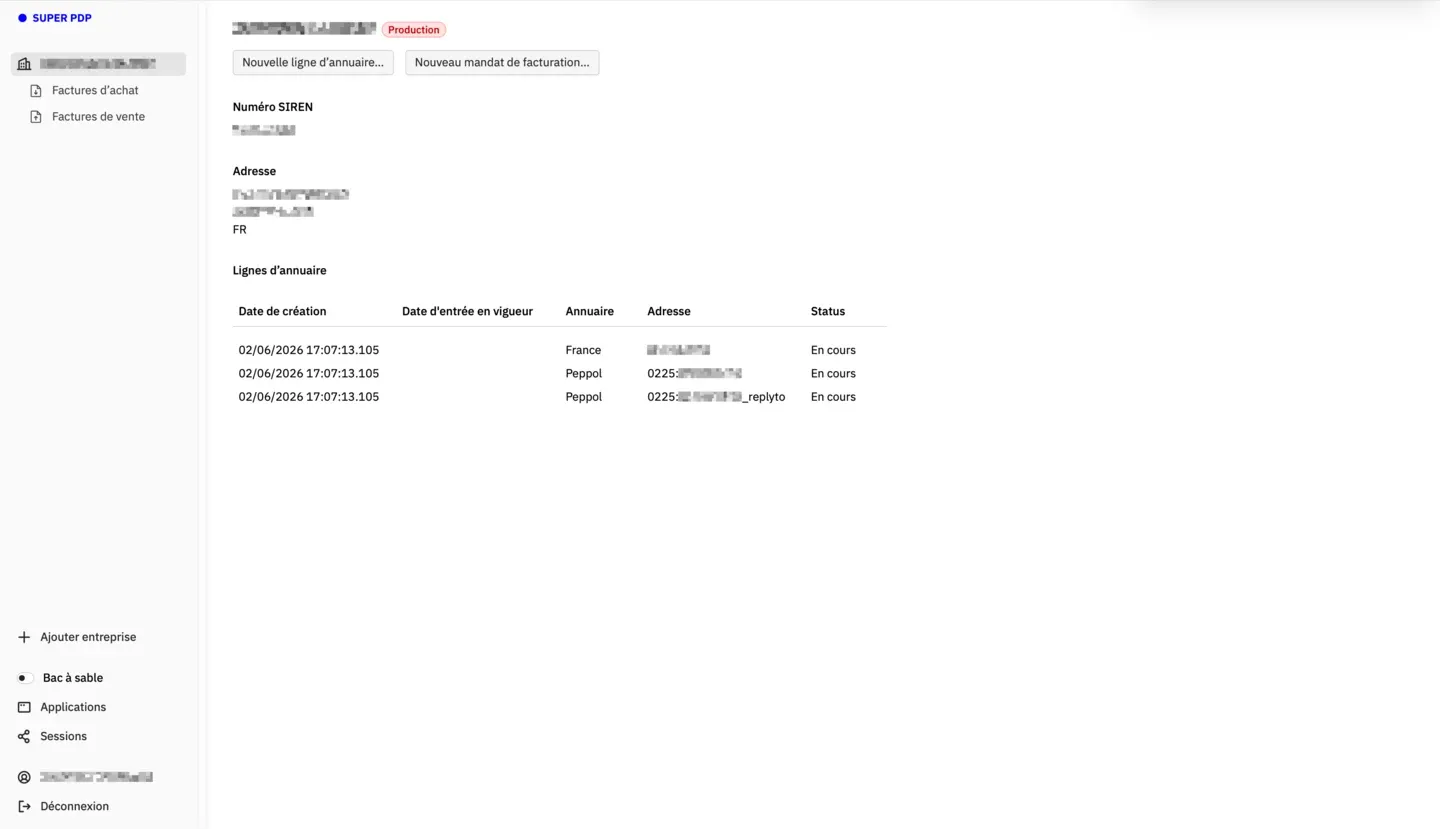
On the computer, SUPER PDP shows your company in Production, with the SIREN and directory lines (often status En cours just after activation). Reception is set up.
You can now connect SUPER PDP to Activiteez.
5. Connect SUPER PDP to Activiteez
- Return to Activiteez → Settings → Invoices and quotes.
- Click Connect my SUPER PDP account.
- Authorize Activiteez on the SUPER PDP consent screen (OAuth).
- Wait for status verified. While company verification is pending, e-invoices do not appear in Activiteez yet (from a few minutes to several days).
Once status is verified:
- open Finances → Received invoices;
- check the Received e-invoices section;
- import an invoice as an expense if needed.
See Where to view and import received e-invoices?.
Common issues
- Cannot connect SUPER PDP — check the 12-month subscription and a valid SIRET (same SIREN). See Who can enable…?.
- Connected but no e-invoices — SUPER PDP company status may not be verified yet; refresh status in Activiteez preferences.
- Several establishments — several Activiteez accounts with the same SIREN can share one SUPER PDP account: Can several Activiteez accounts connect to the same SUPER PDP account?.
- Compliance without Activiteez integration — Can I receive e-invoices without connecting SUPER PDP to Activiteez?.
- Factur-X / SUPER PDP overview — Is Activiteez compatible with e-invoicing?.
- Pricing and timeline — reception is free (12-month plan); issuance pricing later: What does e-invoicing cost with Activiteez?.
